User interface
Spine looks a bit different from most applications because the entire user interface is custom built. This allows us to get exactly the behavior we want, without the compromises of a traditional application. Also, Spine uses hardware acceleration and renders at a high framerate, similar to how games are built, so it is very fast and animates smoothly.
Main menu
Spine's main menu is accessed by clicking the Spine logo in the upper left corner of the Spine window. It can also be opened by pressing alt+F (opt+F on Mac).

From here you can open and save projects, import and export, and access Spine's settings.
Titlebar buttons
The open button can be dragged to show the last few recent projects. This is the fastest way to switch projects. Hold shift to open a file dialog at the project file location.
Next to the Spine logo in the upper left are shortcut buttons to open and save the project, undo and redo, and to open the welcome screen. Hold shift when clicking the save button to open the "save as" dialog.

The welcome screen's envelope icon will change when there is unread news or changelog entries.
Opening projects
There are many ways to open a project:
- Click
Open Projecton the main menu. Holdshiftwhen clicking if you want the OS file chooser rather than Spine's file dialog. - Click a recent project on the main menu.
- Press
ctrl+O(cmd+Oon Mac). If you want the OS file chooser usectrl+shift+O(cmd+shift+Oon Mac). - Press
alt+Fto open the main menu, thenOto open a project. Useshift+Ofor the OS file chooser. - Click the open titlebar button near the main menu.
- Drag the open titlebar button to show the recent projects. This the fastest way to switch projects!
- You can double click a project file from your OS's file explorer or drag and drop it onto the Spine window.
- Choose an example project from the welcome screen.
File dialogs
Spine's file dialog shows the most recent files and folders for the particular type of file or folder you are selecting.

The file dialog has a number of useful features:
- Clicking the icon next to a file entry opens a file chooser in that directory. This is very convenient!
- You can star files or folders so they always appear at the top of the list.
- Right clicking an entry removes it from the dialog.
- Type to filter the dialog entries and press
enterto choose the first entry. - Spacebar opens a file chooser for the first entry, the same as clicking
Browse. - Pasting by pressing
ctrl+Vwill use the clipboard contents as a file path. You can copy a file using your OS's file explorer, then paste on the file dialog to choose that file.
Views
If a view is inadvertently closed, it can be accessed again using the Views select box in the upper right of the Spine window.
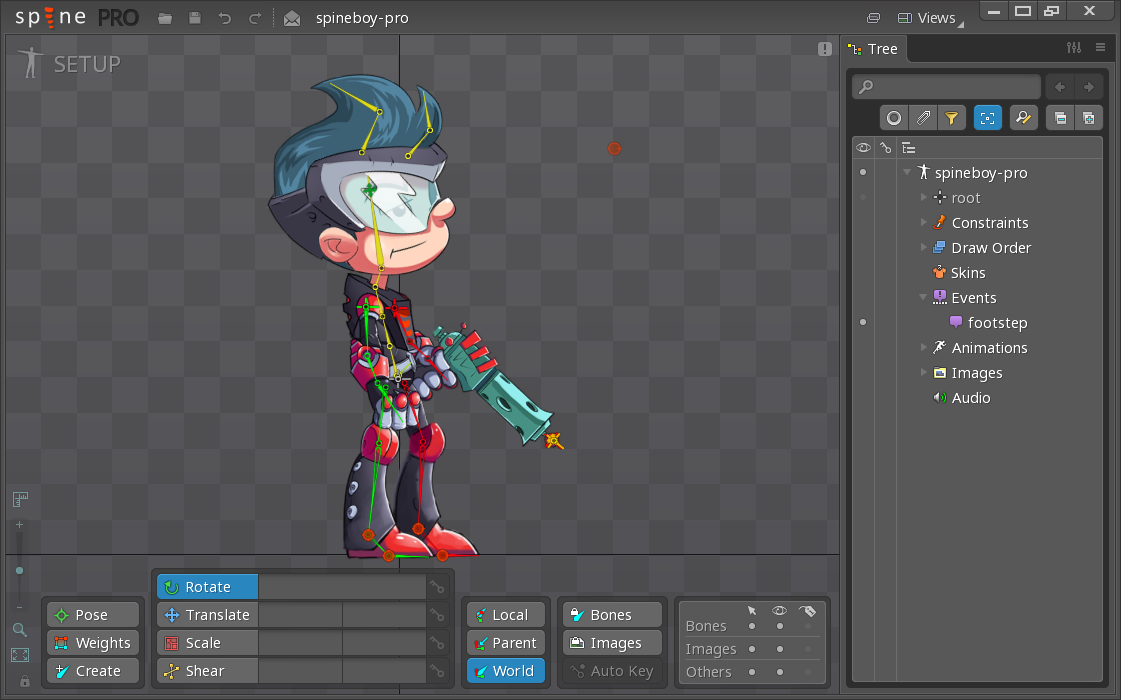
By default, Spine has the viewport on the left and the tree view on the right.

Views can be customized by dragging an edge to resize or dragging the tab to move it.
Additional views can be opened via the Views select box in the upper right of the Spine window. Animate mode has more views available than setup mode, so be sure to check the Views select box in animate mode. See views for more information. Currently views cannot be moved outside the Spine window.

Tree
The tree view gives a hierarchical view of your skeletons and everything they contain. The tree is central to using Spine and has many features to make navigating your project easier. After learning the basics of getting around in Spine, be sure to check out the tree view page.
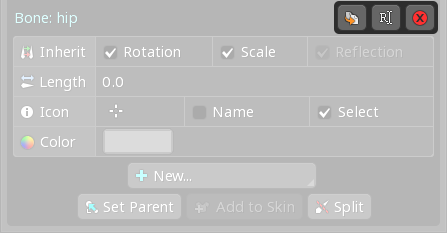
When an item is selected in the tree, its properties are shown at the bottom of the tree. These properties are where the items in your project are configured. Most properties have the same three buttons in the upper right for duplicate, rename, and delete.

Viewport
The viewport is the space outside of the views where your skeletons are shown. This is where you'll setup and animate your skeletons. The main toolbar at the bottom of the viewport provides access to various tools and settings.
Panning
Panning in the viewport is accomplished by moving the mouse while holding the right mouse button.
If using an input device without a right mouse button, the Pan Drag hotkey can be used by holding the J key and dragging with the left mouse button. A number of other hotkeys are available for panning.
Zooming
Mouse wheel zoom quickly becomes second nature. It is so convenient that zooming often replaces panning by zooming out, then zooming in to a new location.
Zooming is very important in Spine. To zoom in, place the mouse on what you'd like to see larger and scroll the mouse wheel upward. To zoom out, place the mouse near the edge of the screen where you want to see more and scroll the mouse wheel downward.
If you do not have a mouse wheel, you can alternatively hold ctrl (cmd on Mac) and drag the right mouse button up or down to zoom. Also the Zoom Drag hotkey can be used by holding the U key and dragging with the left mouse button. Other hotkeys are available for zooming.
The zoom level is indicated by a vertical slider in the lower left of the viewport. The slider shows the current zoom level and can be dragged, but is generally much less convenient than scrolling.

Below the slider are two zoom buttons. The magnifying glass button zooms to 100%, so images appear at their actual size. The box button adjusts the zoom level so the skeleton fills the viewport. These can also be done by pressing ctrl+F and ctrl+shift+F, respectively (cmd+F and cmd+shift+F on Mac).
Setup/animate mode
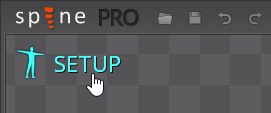
Switching between setup mode and animate mode is done by clicking the icon in the upper left of the viewport.

Setup mode is used to create and configure skeletons while animate mode is used to design your animations. This is explained in depth later in this guide. For now you can open an example projects from the welcome screen, such as spineboy, then switch to animate mode and click play in the graph view to see it animate.
In animate mode, by default Spine has the graph view at the bottom and the dopesheet view as a tab next to it. The graph shows the keys and values in your animation and how they change over time. The dopesheet shows only the animation's keys, not their values, but can show many keys at once. We'll explain more about these views later in this guide.

Undo/redo
Nearly any action in Spine can be undone by pressing ctrl+Z to undo and ctrl+shift+Z or ctrl+Y to redo (cmd+Z and cmd+shift+Z or cmd+Y on Mac). There are also undo and redo buttons on the titlebar near the main menu, in the upper left of the Spine window.

On macOS, if you are not using a QWERTY keyboard, the default hotkeys may use different keys. For example, Y instead of Z for a QWERTZ keyboard. To fix this, choose your keyboard layout in the settings. All hotkeys can be customized.
