Transform constraints
Transform constraints are not available in Spine Essential.
A transform constraint copies a bone's world rotation, translation, scale, and/or shear (it's transform) to one or more other bones.
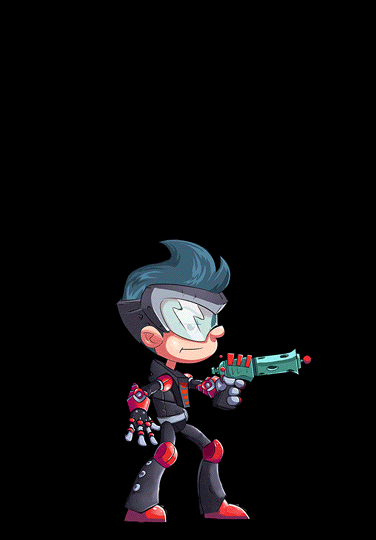
Transform constraints have many clever uses for advanced rigging. The simplest is moving a bone and having other bones also move. It can be used to simulate a bone having a different parent, for example to take off a hat, equip a weapon, or throw an object. Interesting effects can be created by constraining only a subset of the transform, for example only scale or shear. A bone can be positioned automatically at any percentage of the distance between two other bones, and more.
See the transform constraint demo, example projects, and tips for usage examples.
Setup
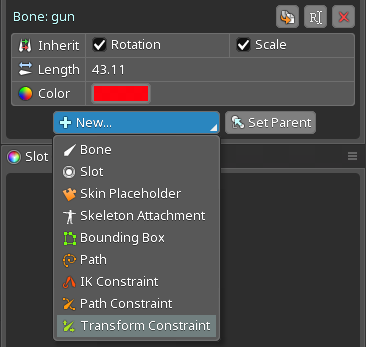
To create a transform constraint, select any number of bones to be constrained, then click New... Transform Constraint to enter choose target mode. Choose the target bone by either clicking an existing bone or click in empty space to create a new bone. The target bone cannot be a descendant of the constrained bones.
Properties
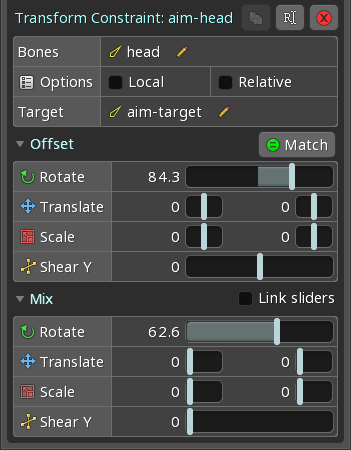
Bones
This shows the constrained bones. When one bone is constrained, clicking the bones selects it.
When multiple bones are constrained, they are shown in a select box. The order of the bones is not important for a transform constraint.
Opening the select box and clicking a bone will select that bone. Right clicking a bone name without opening the select box will select that bone.
Different bones can be chosen by clicking the pencil icon. This clears all the constrained bones and allows new bones to be chosen.
Local
When checked, the local transform of the constrained bones is modified to match the target bone.
When unchecked, the world transform is modified instead.
Relative
When checked, the transform of the constrained bones is modified by adding the target bone's transform. This means the resulting transform is relative to the constrained bone's transform before the transform constraint is applied.
When unchecked, the transform of the constrained bones is modified to match the target bone's transform. This means when the mix is 100, the constrained bone's transform before the transform constraint is applied has no affect on the resulting transform.
When Local is unchecked and Relative is checked, flipping the target bone using negative scale can give unwanted results. For example, when scaling causes the target bone to point in the opposite direction, its world rotation is 180 degrees different than before the scaling. When using Relative, this results in the constrained bones being rotated 180 degrees.
Target
This shows the target bone. Clicking the bone selects it.
A different bone can be chosen by clicking the pencil icon.
Offset
The offset slider values are added to the target bone's transform values, allowing the resulting transform to be customized while still being based on the target bone. This is provided for convenience, so an extra bone is not needed to achieve the same result.
For example, with a rotate offset of 90 degrees, the rotation of the constrained bones is set to the target bone rotation plus 90 degrees.
Match
The Match button sets the offset sliders to match the current transform of the first constrained bone. It can be convenient to set the mixes to 0, manipulate the transform of the first constrained bone as desired, then click Match to set the sliders to that offset.
Instead of adjusting each offset slider manually, it is often easier to use the standard tools to manipulate the transform of the first constrained bone as desired, then click Match to set the sliders to that offset.
Mix
The mix sliders control how much the contraint affects the bones' transform, see constraint mix. The mixes can be keyed.
When Link sliders is checked, all the mix sliders will move together.